Before we can actually develop a DNN module we need to have a DNN site! Go figure right? This blog entry will walk through the process of installing DNN. I remember when I first started learning some of this stuff it quickly became overwhelming. I mean you had to figure out how to work with new softwares, learn new programming languages, and install DNN just to be at a point where you can develop a module. It did seem like a lot, but after you do it a few times it becomes second nature so if you are feeling overwhelmed don’t worry it will pass with repetition and time. Plus there’s a large community of people who have traveled the same road we’re on and they don’t mind helping… as a matter of fact many of them want to help you so don’t be shy if you have questions along the way.
Update (3/9/2016) - David Poindexter of nvisionative has created a tool to make installing DNN ultra simple. If you don't want to manually install, this tool will make it easier for you. Download it at http://www.nvquicksite.com
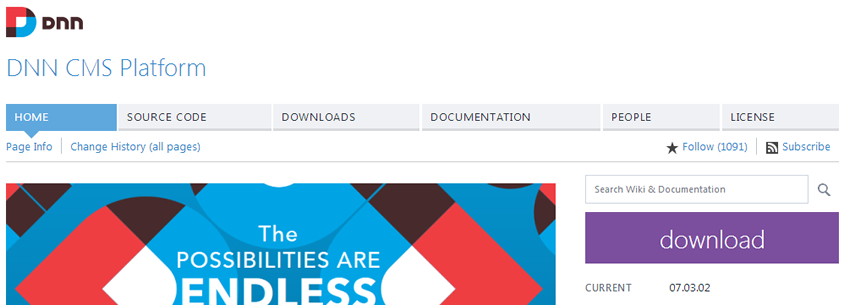
At first when I researched and was trying to figure out what “installing” DNN meant I didn’t know what I would really be installing. Was it an .exe file, does it install itself, is there some sort of wizard, what was I supposed to actually install? After a while I figured out that the DNN install package is a zip file that you can download. So while we’re talking about it let’s look at where we can find this file. Some of you may have already guessed it, but the same CodePlex site where I referenced some sample modules in a previous blog is the same location where we can download the DNN Platform. So go ahead and venture over to http://dotnetnuke.codeplex.com and click the big purple button on the right, the “Download” button. The DNN install file will download to your local computer.

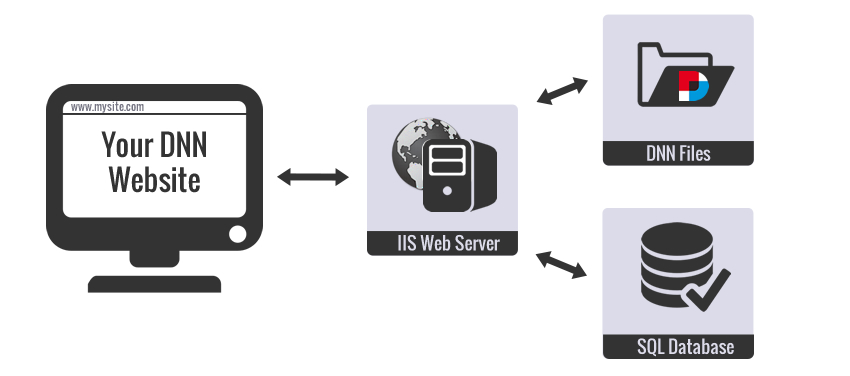
Though, before we proceed with installing DNN it may be helpful to know, at a high level, how our site works given some of the softwares and environmental requirements mentioned in the previous blog entry. After a while it can all become a blur so let’s try to add some clarity. The image below visually lays out how the pieces work together.

When an end user browses to your DNN site’s URL your domain name points/routes the request to the server on which your site is hosted. Then IIS will kick into action. IIS then serves up the appropriate content and in order to do that it interacts with your DNN site files and database. Your DNN site files, which include module code, often interact with and retrieve data from the database. If needed, data from the database will be loaded and then pushed back out to the browser/end user. This is at a high level, but generally speaking this is how it works. Now that you have the DNN install file and a high level understanding of how the pieces work together we are ready to proceed.
Installing DNN
Installing DNN is pretty straight forward, but if you don't handle the details you can easily get tripped up. In order to install DNN we are going to follow a few steps:
- Download the install file (we already did that)
- Create a folder for our site
- Ensure permissions are correctly configured for this folder
- Extract the install zip file into the folder we just created
- Create the database for our site in SQL Server & configure User Mapping / Security
- Ensure that IIS is properly installed
- Create our site in IIS
- Modify our “Hosts” file
- Access our site’s URL
- Walk through the Install Wizard
The video below walks through these steps
If you've reached this point and were able to successfully install DNN then congratulations! You've made it to another milestone. Take a breath and celebrate knowing that the fun has just begun. Also, let me know you made it this far… Tweet to me and let me know that you successfully installed DNN.
Go to the Next Blog Entry: "The Tasks Module Overview"