As most of you are aware, DotNetNuke has rolled out with 5 extra languages over the past year: German, Spanish, French, Italian and Dutch. These translations are done by trusted partners under contract so DNN Corp can assure their quality and them being available on time when a new version of DNN is released. This may have gone largely unnoticed in places like the US, Canada or Australia. But it has made quite an impact in the mentioned language zones.
And things will get even better. The above is just one (visible) step that is being taken to make the platform more accessible to those in the non-English speaking regions. In the future we aim to open up other languages in a much more fluid way than is currently the case. But one step at the time. As part of our effort to get there, a new tool has been developed to help translators speed up the translation process. This tool is called the “DNN Translator” and is available on CodePlex at https://dnntranslator.codeplex.com/
Why this new tool?
As you may know the texts that are used in DotNetNuke’s code are stored in so-called resource files. These are XML files with the .resx extension that you find in “App_LocalResources” folders all over the place. Localized (i.e. translated) versions of said files override the original texts when a page is requested in this other language. You’ll spot the localized versions as for instance AddModule.ascx.nl-NL.resx. This would be the Dutch translation of texts used in the AddModule control.
DotNetNuke includes a module to help users edit these resource files. You can opt to edit the original (i.e. for en-US), a specific language or a text specific for the portal. Although this tool is fine for the occasional translator, we found translators found it also a cumbersome tool to work with. And flipping back and forth between the editor and the result is also a suboptimal experience.
Thinking outside the box we came up with the idea of an “offline” tool. I.e. a resource translation tool that works on an installation locally on your hard drive. All translators tend to work with a translation on their own machine, so there was no strict reason to have the tool online (i.e. as a module). Having it offline opens up the door to some interesting possibilities and in general makes the tool more responsive (don’t need to go through IIS). This tool became the DNN Translator.
Who should get excited about this?
The target audience for this tool are translators who maintain language packs. The occasional translation or portal text override are still perfectly possible with the built in editor. But if you are translating the whole framework you have hundreds of files to get through, and you’re better off with this tool. So translators should use this, (end/admin) users should use the Language Editor built into DNN.
What are its features?
What follows is a summary of features. This tool is in no way “done”. We foresee new features being added as the tool gains traction and we begin to get some feedback. But what follows is where we are at at roughly DNN 7 release time.
A modern look and feel
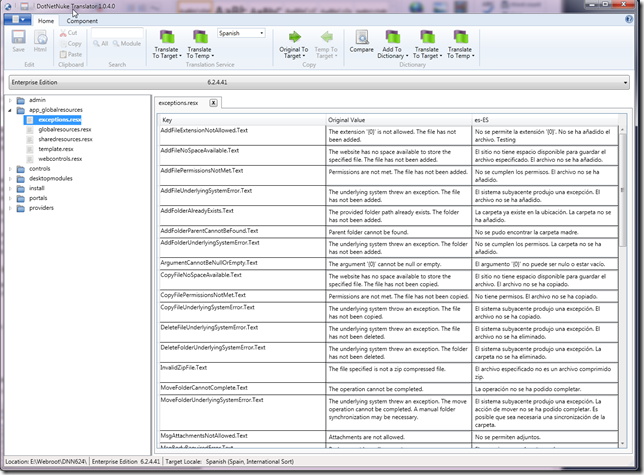
We intended to make the experience as pleasant as possible for translators and to make sure we were up to date in terms of UI standard practice. This is probably the hardest part of the application to do well. We are happy with the way it now presents itself to the user, but we remain open to suggestions.
On screen editing as in the Language Editor

The basics still remain. The translator sees side-by-side the original text and the translation. Clicking Save (or Ctrl-S) the resource files is instantly saved and changes can be seen in the application if you’re viewing it through IIS at that point. The focus in this bit on the UI is really productivity. Jumping from one field to the next easily. Highlighting empty fields or those where the text is equal to the original.
Edit any piece of your installation
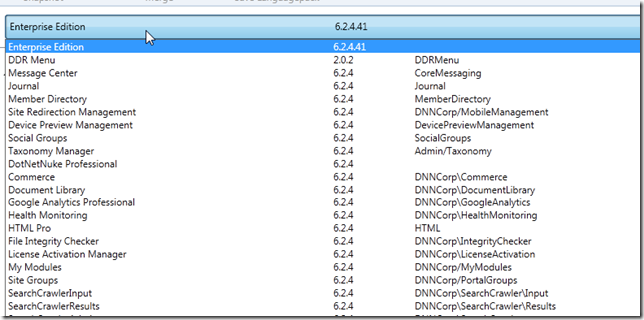
It is important to realize that the tool is not solely meant for translators translating the core. It is equally valid for users that are responsible for translating (3rd party) modules. The application attempts to read from the site’s database which components are installed and brings this up in a dropdown. Selecting a component brings up its resource files in the tree in the main window.
Support for Google and Bing translation services
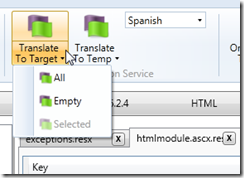
We find that most translators use Google or Bing to prime their translation first. Then they’ll go in and adjust those translations. The tool supports this scenario. Register your favourite translation service and leverage the translations they provide. You can have the translation service provide the translations in a separate column to avoid overriding your existing texts. This allows you to play without risk of destroying data.
Note: both Google and Bing now require you to create an account with them to use these services. Bing has a threshold of free translations per Month for you. For more details consult Google and Microsoft.
HTML text editor
Regularly we store HTML in resource files. They are encoded to keep the file valid XML and show up like this:

This is impractical for editors as they have to sift through the added blurbs the encoding adds to the field. Instead we can use an HTML editor to edit the field:
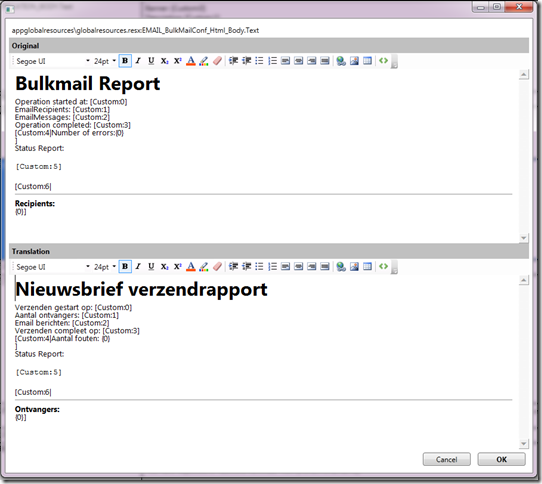
This allows the translator to focus on the text. Note it is naturally not possible to include images as HTML only caters for links to images and links will not work. But the editor will allow you to use all the text styling necessary.
Support for your own dictionary

Some translators keep an internal list of frequently translated terms. “Cancel” and “download” are terms that you find often when translating. The Translator allows you to maintain your own dictionary and can prime fields (just like the translation fields) when it finds texts already in the dictionary. Note this works on whole phrases only. So “Do you wish to delete this item?” would go in the dictionary in its entirety.
Save and compare to snapshots

A snapshot is a freeze of all original texts. Use this to compare changes over versions of what you are translating. Let’s say you are translating DNN 6.2.3, save the snapshot as DNN623. Then, when 6.2.4 comes out you upgrade the installation you’re working on and run a compare against the DNN623 file. It will tell you what changes there have been (i.e. changed texts, deprecated texts and new texts) and allow you to quickly bring up these changes for editing.
Connect to Localization Editor module

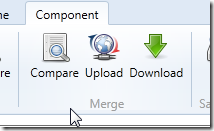
This is the most exciting part for the translation managers (like myself). The Translator can hook into the Localization Editor module remotely. The Localization Editor is a module meant to help maintain language packs. It can monitor different modules, different versions thereof and different locales. And it is also available on CodePlex. The idea is that in the future DNN Corp will open up a central repository where translators can submit any pack with this tool (the DNN Translator leverages the new services framework in DNN 7 for this). So if you have a Hungarian translation for the Events module version 6.0.3, you could just upload it instantly and the translation would be available to others.
Note: as this will be making use of the new and upcoming Web API in DNN 7 this part is still a bit in flux as we wait for the definitive release of DNN 7. But this is where the tool will be heading and how we envision its use in the DNN community in the future.
Create language packs
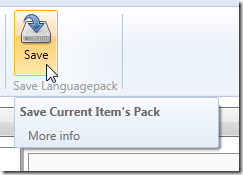
Finally, and most importantly, the Translator can generate language packs. In the program’s settings you can specify the various fields to include in the pack for the translator (name/license/etc). The packs conform to the DNN standard for packaging resource files. You can even generate “Full” packs, meaning packaging the translated resource files for both the framework and any installed module in one go.
Getting started
So how can you get started? Well, head over to Codeplex and download this tool and install it. There is a manual in the downloads which will guide you through the first steps.