Download the Source Version of DotNetNuke.
Create a directory on your hard drive. Do not put it under the
wwwroot directory because it will most likely have permissions set that will make the installation difficult.

Unzip the files to the directory

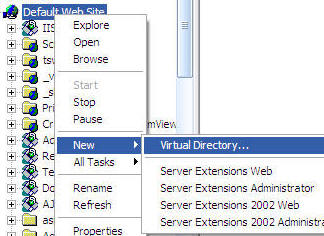
Go into IIS server configuration

Right-Click on
Default Web Site and select
Virtual Directory
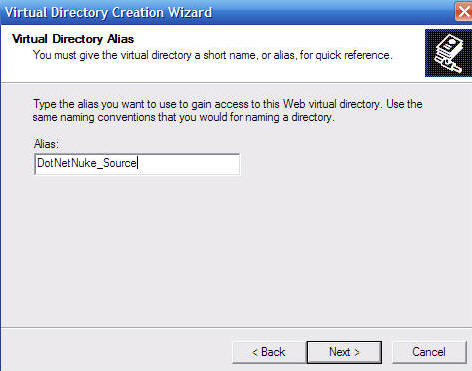
Create an Alias
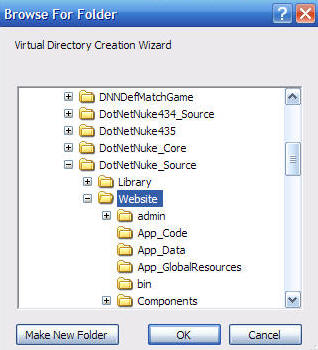
Point to the website to the
Website directory
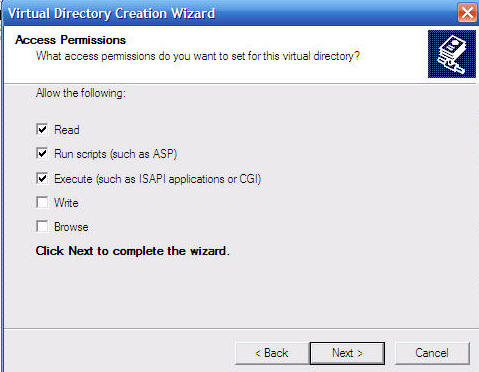
On this screen check the boxes next to "
Read", "
Run scripts (such as ASP)", and "
Execute". Then click
Next.
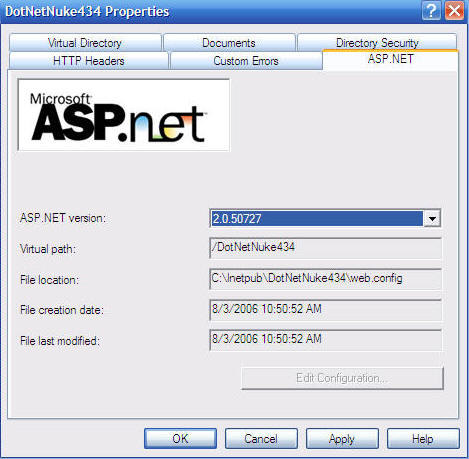
In IIS, go into properties for the site you just created and click on the ASP.NET tab and insure that you set the site to run under ASP.NET 2.0.
In the Windows file manager, open the
DotNetNuke.sln file (that is in the root of the directory of the files that you unzipped) in Notepad (or any text editor).

Change the web address to the web address that your site is configured for (you have to change it in two places).
Save the file.

Double-click on the DotNetNuke.sln file to open the site in Visual Studio

The site will open up in Visual Studio

From the menu bar, select Build then Build Solution

32 projects should build successfully

Delete the Web.Config file

Rename release.config to web.config

Go to the site in your web browser

The site sets up using the default settings that are set to use SQL Server Express.
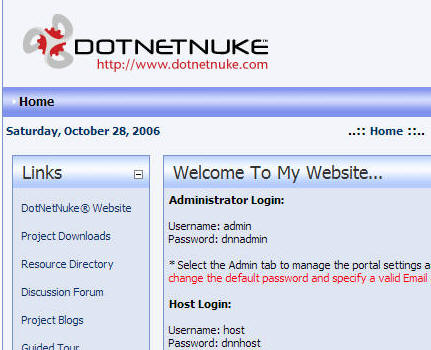
Wait for the link to appear to access the portal when the installation is complete.
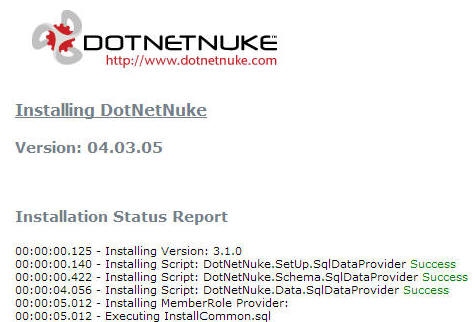
The installation is complete.
NOTE: This is only recommended for those wishing to use the Web Application Projects (WAP) to develop DotNetNuke modules.
The source is bulky and not useful for module development because you don't want to develop a module on an installation that is not standard.
Instead use one of these development environments: