The latest changes:
- Added CSS tags to Survey.ascx to allow text formatting by the skin
- Altered 03.03.00.SqlDataProvider script to use only dbo.sysobjects instead of {databaseOwner}.sysobjects
- Altered Survey.ascx.vb to leave all options unchecked on a single option survey
- Fixed the display of the Survey Completed message when using private results
Download it in the project downloads.
How to Install The Survey Module
While logged into the DotNetNuke installation as the Host account, select Module Definitions from the Host menu.

Then select Install New Module.

From the File Upload page, navigate to the ".zip" file that you downloaded and click the Upload New File link.

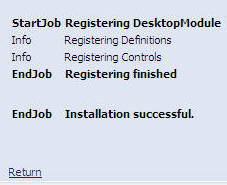
The module will upload...

When you view the installed modules list (Host > Module Definitions), you will now see the Survey module.

Next you will create a page to place the module on. On the Administrator control panel, click the Add link under the Page Functions section.

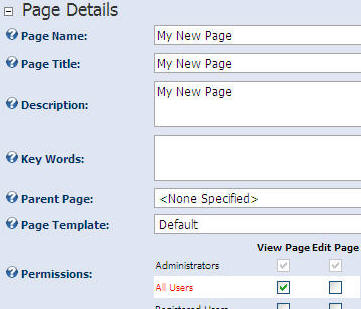
Enter details for the page, ensuring that All Users are selected under the View Page column. When you have entered the information, click the Update link.

Next, from the Administrator control panel, select Survey from the Module drop-down list and click the Add link.

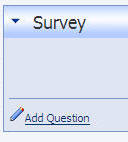
The Survey Module will now appear.
