


With the epic 6.0 version of your favourite Content Management Platform just around the corner, here’s a quick guide on how to take advantage of one of the new features in the upcoming 6.0 release!
In DotNetNuke 6.0, extension developers will have the ability to brand their extensions. Custom icons are supported for Authentication System, Container, Skin, and of course Module type Extensions. The custom extension icons will show up in two places, in the new and improved Control Panel (formerly the RibbonBar) and also in the new and improved Extensions page.
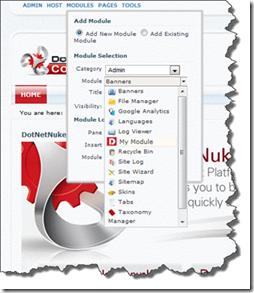
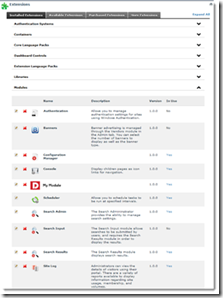
Any type of installable image is supported for extension icons: .jpg, .jpeg, .gif, .png, .bmp. The size of your image doesn’t really matter, it will be dynamically resized when the page renders. Although the size of your image doesn’t really matter, for best results use an image with a 32x32 pixel resolution, so that your image will not lose any quality upon having to be resized.

To brand your extension, simply add a few lines into your extension install manifest and include the image in the install package. Each type of extension has its own install manifest structure, but adding an extension icon is the same across the board for all supported extensions. Just add the <iconFile> property to the package info in your extension manifest.
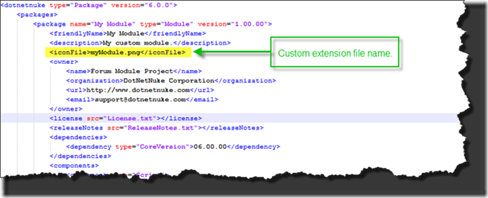
The <iconFile> value is the filename (including file type) of your icon. The path of your icon is relative to your extension’s install folder. For example if your extension is installed in /MyWebsilte/DesktopModules/MyModules, your image file should also be located in that folder path. If you prefer to keep your images in a subdirectory, the following example is also valid:
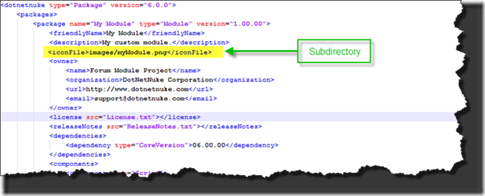
Also remember to include your image as one of the files to be installed, for example:

[Update July 18, 2011]
A little more work has been done around updates to the manifest. Here’s a quick overview of the updates:
- Newly introduced .dnn6 manifest file http://www.dotnetnuke.com/Resources/Blogs/EntryId/3091/The-dnn6-Extension-Manifest-File.aspx
- Full relative paths are now supported
Now supports use of “~/” syntax to define the full relative path of the icon file. Moreover we now support use of icon files outside of the install base path. - Resource.zip files
Many extension developers prefer to use a Resource.zip file in their install packages. One caveat with this is the base path is handled a tad different in this scenario. In this case, to have the icon file work when it is contained within the Resource.zip file is to define it using the Full Relative Path.
[end]
The <iconFile> is an optional property. If you choose not to brand your extensions, it will use a default image, which will vary depending on the type of extension. More info will be provided in the user manuals for 6.0 upon release. Until then, be amongst the first to brand your extensions and stand out amongst the rest!
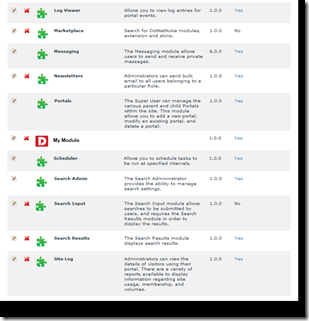
The only question is; How will you brand your extension?