In a previous post I described how WebMatrix can be used to download DotNetNuke and install it on your local computer. In this blog I will describe how you can use WebMatrix to publish your DotNetNuke site to a Hosting Provider.
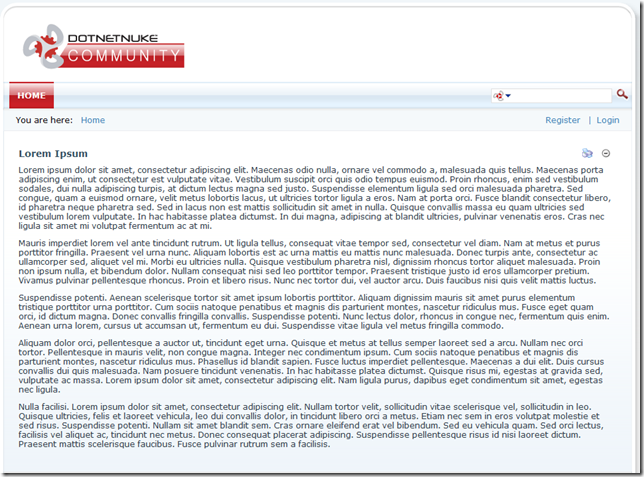
First lets slightly modify the content from a plain vanilla DotNetNuke site, by deleting the modules on the front page and adding a single HTML module with some “Lorem Ipsum” text. (Figure 1)
Figure 1 - The Modified DotNetNuke site
We have to make one additional modification before we can publish our site – we need to add a Portal Alias for the site. In order to publish a site using WebMatrix you will need a hosting provider that supports the latest version of MSDeploy.
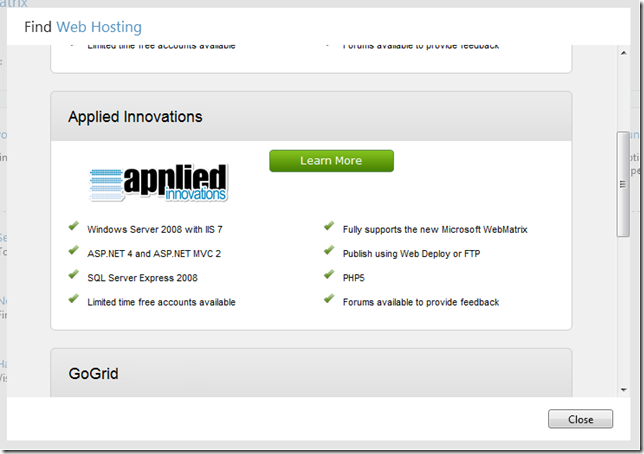
The WebMatrix application includes a list of hosting companies that offer this support, including a number of hosting companies that are offering “free” hosting for the duration of the WebMatrix Beta. I chose Applied Innovations free Beta Hosting Package (Figure 2).
Figure 2 - List of Web Hosters that support Publishing from WebMatrix
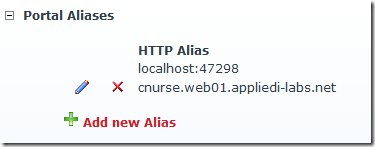
Once you have a hosting provider they will provide you with a url for the site. This needs to be added to the list of Portal Aliases (found under Admin –> Site Settings) before you publish your site. (Figure 3)
Figure 3 – List of Portal Aliases
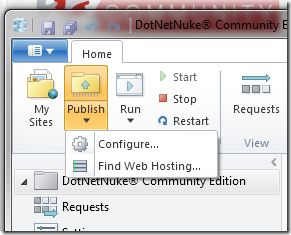
So we are now set up and ready to publish our DotNetNuke site. To publish a website using WebMatrix select the Publish button in the Ribbon Bar and select the Configure option. (Figure 4)
Figure 4 – Publish your site from WebMatrix
You will then be presented with a dialog to enter the Publishing Settings. These will have been given to you by your hosting company. (Figure 5)
Figure 5 – Website Publishing Settings
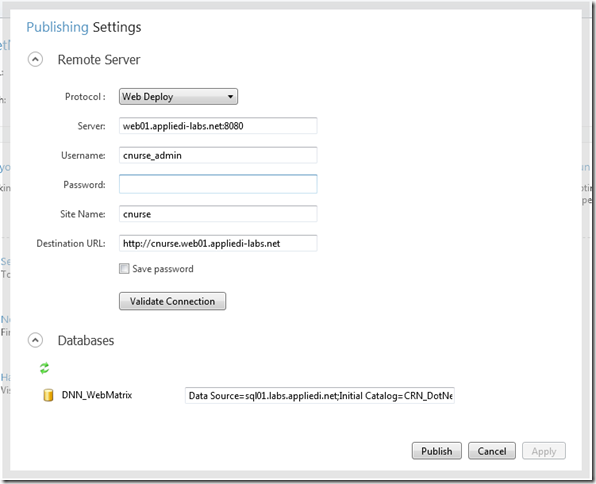
Once you have entered your settings you will need to click Publish to start the process of publishing your site. The first step is that WebMatrix will build a list of files that are different between the two sites (local and remote). For my example there are 2331 files and 1 database (Figure 6).
Figure 6 – A Preview of the files that will be published to your site.
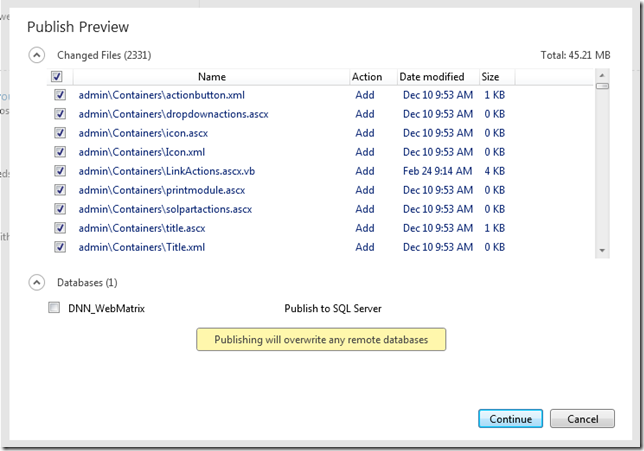
Note that you can publish all or just some of your files in one session. Obviously, unless all of the files are eventually published the site will not be fully functional. Once you click Continue the dialog will close and WebMatrix will start to deploy your site – updating the status bar as each file is published. (Figures 7 and 8)
Figure 7 – WebMatrix shows the publishing status in its Status Bar.
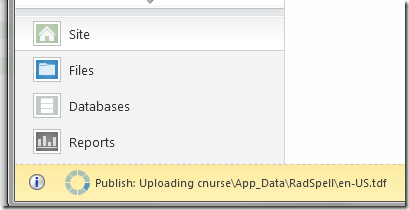
Figure 8 – WebMatrix shows a Publish Complete message when the site is Published
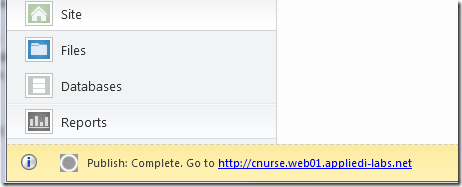
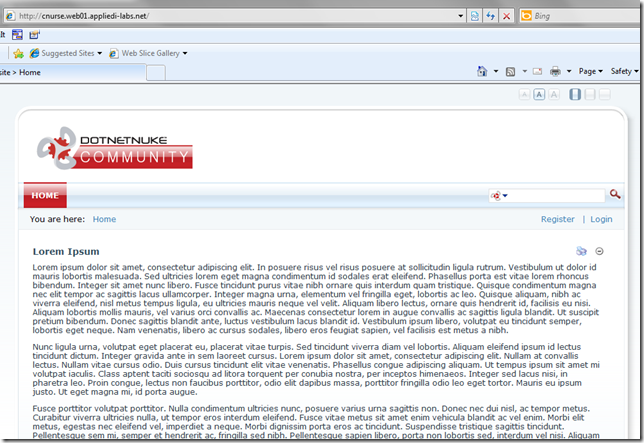
Once the site is completely published you can click in the link in the status bar to browse to the newly deployed site. (Figure 9)
Figure 9 – The Published DotNetNuke site
That’s it – we have now seen how WebMatrix can be used to install DotNetNuke on your local machine by downloading it from the Web Gallery, and how you can then use WebMatrix to publish the resulting site to a remote Hosting provider. In future blogs I will dive deeper into the other components of WebMatrix.
This article is cross-posted from my personal blog