Earlier this week Microsoft released WebMatrix the new free lightweight web-stack for developing ASP.NET Web Applications. As I discussed in my initial blog one of the potential uses of WebMatrix is its ability to open existing Open Source applications directly from the Web Application Gallery.
In this blog post I will walk through the steps required to use WebMatrix to download and install DNN on your local machine. In a future blog post I will show how you can then publish your site to the web, using Web Matrix’s publish option.
Once you have downloaded and installed WebMatrix from - http://www.microsoft.com/web/webmatrix/download/ you will be able to launch it from your Windows Start menu.
On startup you are presented with the following screen (Figure 1)
Figure 1 – The WebMatrix Startup Screen
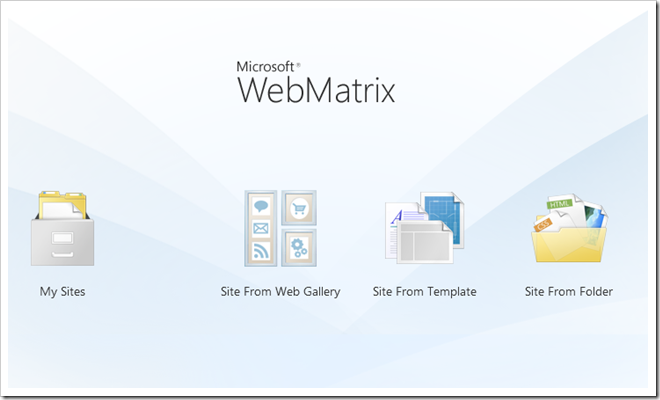
As we are intending to create a DNN site we will select “Site From Web Gallery” Clicking this link will bring up the dialog shown in Figure 2
Figure 2 – Selecting an Application from the Web Gallery
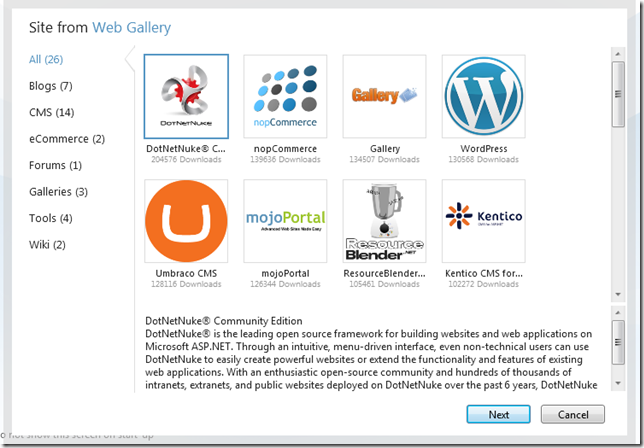
As you can see DotNetNuke is the default selection – this is because it is the application with the highest number of downloads. We will keep this default and select “Next”. We are then presented with the EULA (End-User License Agreement) (Figure 3) which you will need to accept by clciking the “I Accept” button.
Figure 3 – Accept EULA
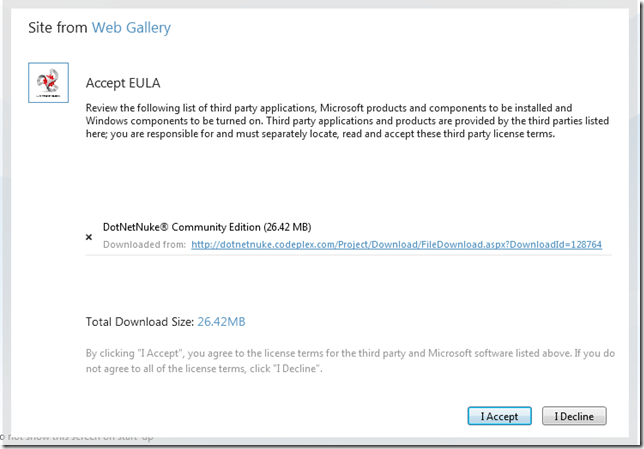
Once you accept the EULA WebMAtrix will begin downloading DNN from the Web Gallery (Figure 4)
Figure 4 – Downloading DNN
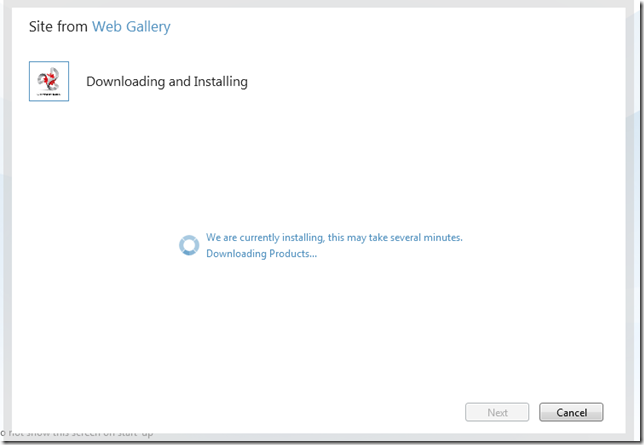
Once DNN has been downloaded from the Web Gallery, you will be able to click the “Next” button, where you will be presented with the configuration screen. This is where you enter parameters that will allow WebMatrix to create your database for you. In this case I enter the following parameters (Figure 5).
Figure 5 – DNN Configuration
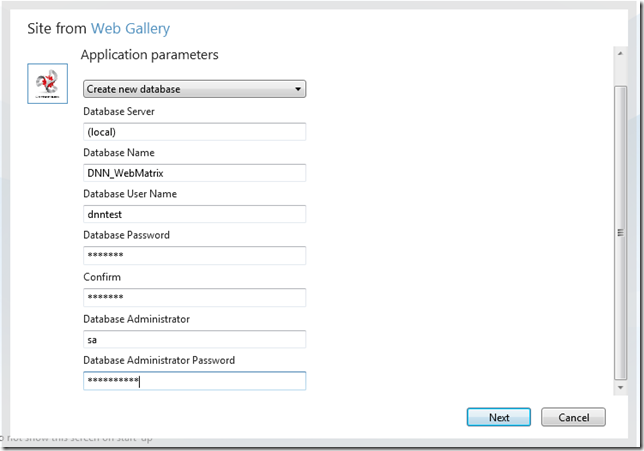
- Database Server – (local) – for my default instance of SQL Server 2005/2008 – I could also enter the machine name of the computer
- Database Name – DNN_WebMatrix - the name I am going to use for the database
- Database User Name – the name of a user to create in SQL Server that will be used to connect to the database
- Database Password – the password for the user
- Confirm – confirm the password for the user
- Database Administrator – the username for the Database Administrator (for most default installs of SQL Server this will be sa)
- Database Administrator Password – the password that was used for the Administrator when SQL Serve was installed
Once you have entered the information – click “Next” to allow WebMatrix to create the Database for you. In addition to creating the database WebMatrix will also set up your connection string in your web.config file.
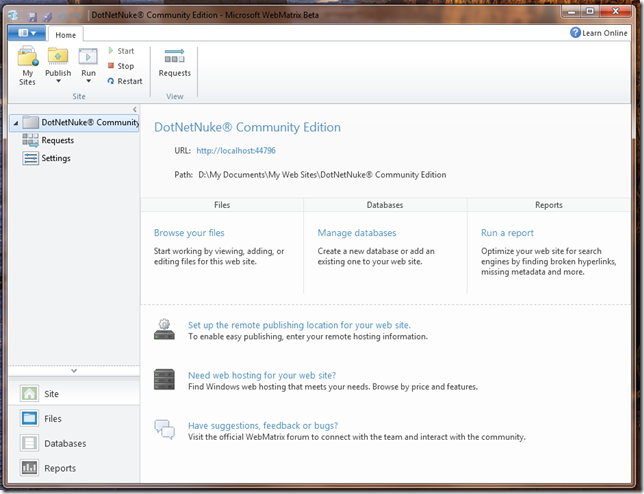
WebMatrix will then show you its start up screen. Note that the files were automatically saved in the path “D:\My Documents\My Web Sites\DotNetNuke® Community Edition” and the URL for the application is “http://localhost:44796”. IIS Developer Express like the Visual Studio Web Server (Cassini) uses port numbers for each site.
Figure 6 – WebMatrix after creating your new DNN Application
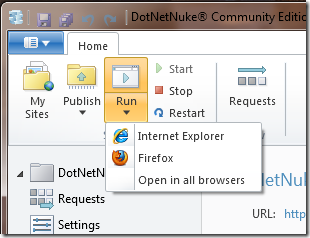
Now we have downloaded DNN we are ready to launch DotNetNuke’s own Install. We can select Run and choose one of the installed browsers (Figure 7). Later, especially when making changes to skins etc. we can use the “Open in all browsers” option to launch all installed browsers at once and compare how the site displays in different browsers.
Figure 7 – Launch the DotNetNuke Web Install
You will be immediately presented with DNN’s Install Wizard (Figure 8). And when I say immediately I mean just that. The startup appeared to be quite a bit faster than launching DNN as a full blown IIS Application.
Figure 8 – The DNN Install Wizard
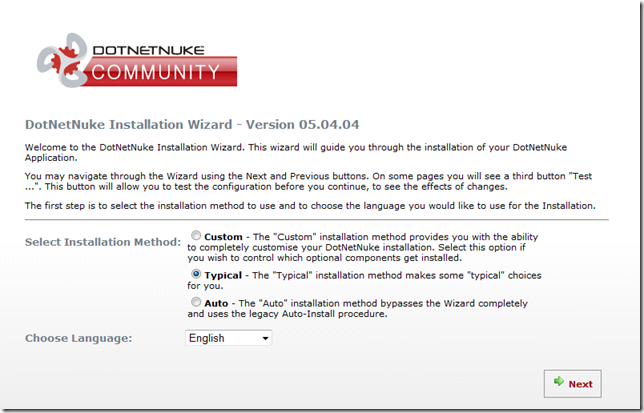
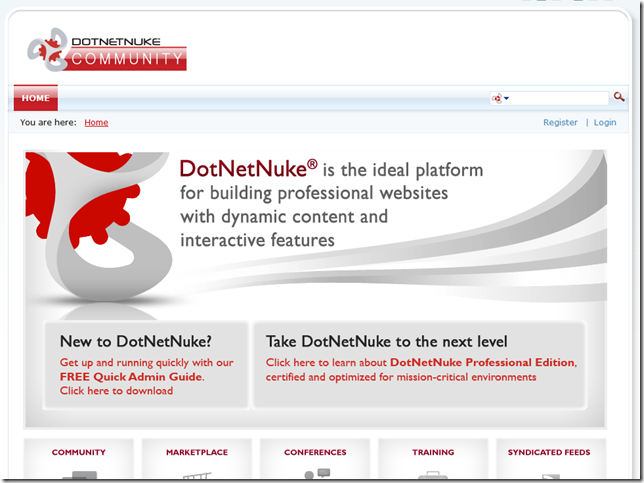
You can install DNN as you would in any other situation. I chose the Auto option and after about 20-30 secs I was able to redirect to the home page of my new site (Figure 9)
Figure 9 – The Completed DNN Install.
So that’s it. In less than 5 minutes from start to finish I was able to install DNN on my local machine using WebMatrix, the Web Gallery and IIS Developer Express. In future blogs I will review some of the features of the WebMatrix IDE and how to publish my completed site.
This article is cross-posted from my personal blog.