Sending a Basic Newsletter
How to send a basic newsletter without using See "List of Replacement Tokens" or adding personalization.
- Navigate to > Advanced Settings >
 Newsletters - OR - Go to a Newsletters module.
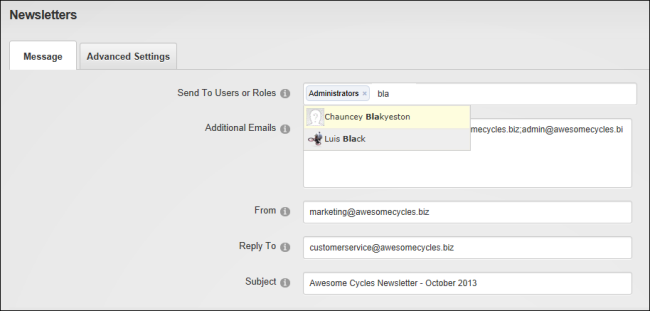
- Select the Message tab.
- Required. At Send To Users or Role, begin entering the name of a security role, a social group or the first name or last name of a user to send the newsletter to. The field will provides a list of matches to choose from. Select the matching result and repeat to add more recipients. Note: Users in multiple roles will only receive one copy of the newsletter.
- Required. In the Additional Emails text box, enter each of the email addresses to receive the newsletter separated by a semi-colon ( ; ). E.g. admin@awesomecycles.biz;sales@awesomecycles.biz
- Optional. In the From text box, enter/modify the email address to be displayed in the From field of this newsletter. Authenticated users can edit their email address.
- Optional. In the Reply To text box, enter the reply to email address for the email.
- In the Subject text box, enter a subject title for the email.
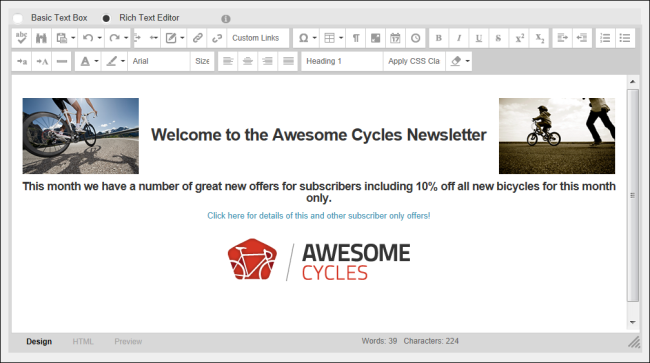
- At , select Basic Text Box to send a plain text email - OR - Select to send an email with formatting and images.
- In the text box, enter the body of the newsletter.
- Optional. Click the Preview Email button located at the base of the module to preview the newsletter before sending it.
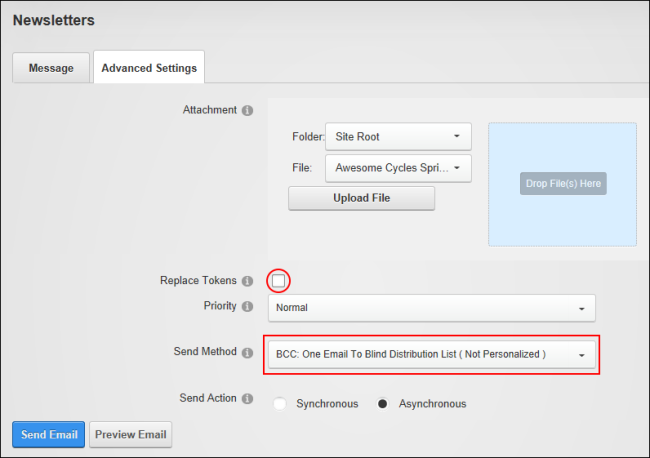
- Select the Advanced Settings tab and then set these required settings:
- At Replace ?, unmark
 the check box.
 - At Send Method, select BCC: One Email To Blind Distribution List ( Not Personalized ).
- Set any of these Optional Advanced Settings:
- At Attachment, select the required attachment. See "Setting a File Link" or See "Uploading and Linking to a File".
- At Priority, select the priority of the email (High, Normal, or Low) from the drop down list. This setting will be associated with the message. The default setting is Normal.
- At Send Action, select from the following options:
- Synchronous: Emails are all sent before the page refreshes. This method is suitable for small mail outs of approximately 100 or less.
- Asynchronous: This starts a separate thread (user process) to send emails. This method is suitable for large mail outs of approximately 100 or more. This is the default option.
- Click the Send Email button.

The newsletter in the recipient's mailbox
Open topic with navigation